Showing posts with label image transfers. Show all posts

27 February 2012

Art Journal and more image transfers

This time I followed the fab and easy to use instructions from UKS and created image transfers by layering on 8 layers of gel medium  and then letting it dry and soaking paper off. Intriguing results and more experiments to come. This page began with modeling paste and then layers of acrylic paint in pink, red and yellow and some ill advised adirondack pearl dabber. It was bright and vibrant but I hated the pearl dabber...
Gesso to the rescue. My images come from a book on North West Pacific First Nation Art. I am fascinated by this art and always wanted to learn how to create images like this. The transfers were created by adding about 8 layers of Golden Soft Gel (Semi Gloss) medium in alternating directions. Once dry I soaked the paper and rubbed it off. They were then stuck down with more gel medium.
They are slightly shiny but see through.
I then stamped a number of birds from The Birds on a Wire Dylusion stamp set.


And then began to doodle my journalling. In real life there is not such a contrast in colours between the image transfers and the rest of the page. The journalling is about the fact that I don't get Twitter and can't see the point of it even though I am pretty tech savvy.
The gel medium swirled around so I thought my journalling should too. I then created a border around the pages of 140 black blocks and added a number to each to represent the 140 characters allowed in a tweet. 
Another finished page.


27 November 2010

Mixed media collages using lots of Tim Holtz products


I have been experimenting with various techniques to make mixed media collages and would like to frame some as presents. I liked the idea of each one embodying a saying and have been trawling the internet for interesting sayings. The first one was inspired by Dyan Reavley's quote of the week.

I began by using distress inks on a plain piece of cream card 7 x 7 inch, then I stamped text on using a Tim Holtz stamp from the Shabby French collection. I then took a smaller piece of scrapping paper that was grey with black flowers and changed its colour using distress inks. I then printed out a photo onto plain paper and stamped on it then mod podged over the top of it and transferred it to another sheet of card - giving the blue look. I flocked and glittered and light bulb shape. Printed out the quote and layered it onto other paper before adding to the collage. Finally I added some glitter buttons.


My next collage is based on the saying "A smile is a curve that sets everything straight" - Sister Busche
This time I distressed the cardstock and then cut out letters from Tim Holtz seasonal papers - 4th July as never likely to scrap that day here in Scotland. I place 4 smile phrases around the pages and then added to torn out and inked dictionary definitions of a smile. I then stamped the bird and text from the Shabby French collection. I cut letters from a magazine for the saying and inked these. Once stuck down I added crackle glaze to them.


13 November 2010

Mod Podge transfers, Tim Holtz stamps, inks and so much paper messy fun

Distress inks, stamps, embossing and crackle

distress inks, stamps
I printed out a detailed section of  b/w photo of Eiffel Tower and then covered surface of card with modpodge stuck and rubbed paper face down and then peeled off - blue colour as printed in greyscale

I love the aged and faded and frankly haphazard nature of this technique and will be tying out lots more. My fingers were stained with ink and I could not get it out for days but it was fun.
Crumpled card stock, distress inks, then ironed it. Stamped bird and text

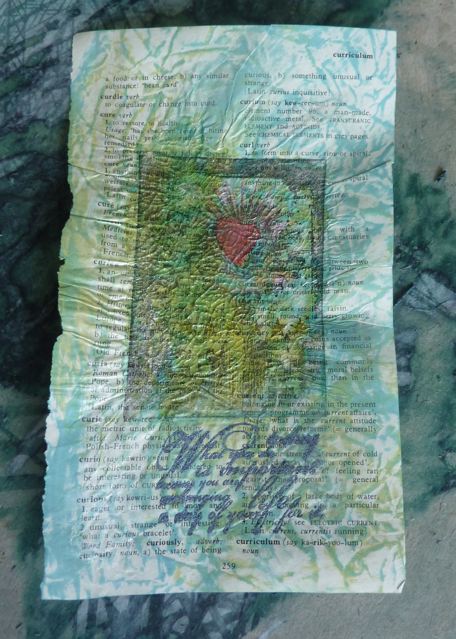
Distress inks on dictionary page, stamped and embossed text, stamped image, coloured with watercolour pro markers and added crackle paint
I treated myself to a few purchases this week - I justified it to myself as preparation for making Christmas presents. When the Mod Podge, Distress Inks, Crackle, Distress Items and Cinch arrived I just  had to play. I had no fixed idea in my mind so just created lots of little bits and pieces that I can may be use later.
I have a stock of old dictionaries with very thin paper and have been playing with these by crumpling then distressing then stamping (ironing too) and adding a bit of crackle paint.
I also bought the time masks - this is on recycled paper with pearl paint dabber

This paper already had paint on it from previous project and some bits of paper so tried pearl paint again and inks